Sometimes we want to share our Yubikey temporarily with other people. Passing the key to someone face-to-face and returning it later can be time-consuming. In this article, we will learn how to share it with other people without physical access. This method can also pass through your Yubikey to another VM/VPS with GUI for free. For VM/VPS with CLI only, you may need to pay for a VirtualHere license.
Prerequisite: Your device and the machine you want to share your Yubikey should be on the same network. You should refrain from sharing your Yubikey with another device through the public network. You may check out steps 3 – 5 in this article to install Tailscale on your machine and share your Yubikey in a virtual private network (VPN).
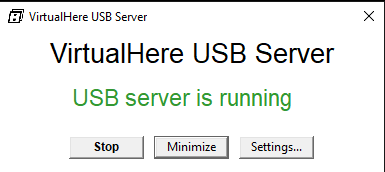
Step 1: Install and execute VirtualHere Server on your device. It supports Windows/Linux/MacOS/Android. Using Windows 10 as an example, its GUI will look like this.
Step 2: Download VirtualHere Client on the machine you want to share your Yubikey. Similarly, it also supports Windows/Linux/MacOS/Android. Using Ubuntu 22.04 as an example, download and install VirtualHere Client with the following commands
cd Downloads
wget https://www.virtualhere.com/sites/default/files/usbclient/vhuit64
sudo chmod +x vhuit64
sudo ./vhuit64
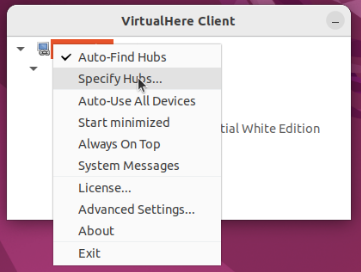
Step 3: If no devices are found, you may need to specify its IP address manually. Right-click the USB Hubs and choose Specify Hubs.
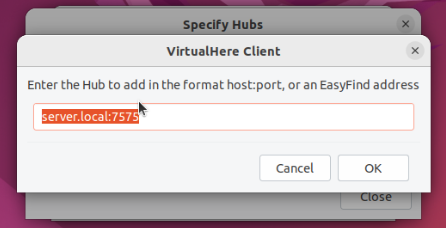
Enter the IP address manually. If you are using Tailscale, the IP should be 100.x.x.x. The default port is 7575. Click ‘OK’ after everything is set.
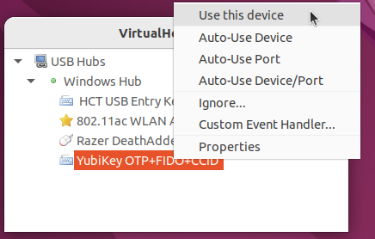
Step 4: You should now be able to find your VirtualHere server. Right-click Yukibey and select ‘Use this device’.

Step 5: Install the required packages to use Yubikey on your Ubuntu 22.04 VM/VPS. You may use the Yubikey official article as a reference.
sudo apt-get install libpam-u2fStep 6: Register your Yubikey to yourUbuntu 22.04 VM/VPS. If it asks you to touch your Yubikey or enter your PIN, congratulation, you have already passed through your Yubikey to a remote device!
mkdir -p ~/.config/Yubico
pamu2fcfg > ~/.config/Yubico/u2f_keys![]()
Register with the following command if you have more than 1 key (backup key).
pamu2fcfg -n >> ~/.config/Yubico/u2f_keysStep 7: Add the following line before the @include common-auth
auth sufficient pam_u2f.so authfile=/etc/Yubico/u2f_keys cue pinverification=1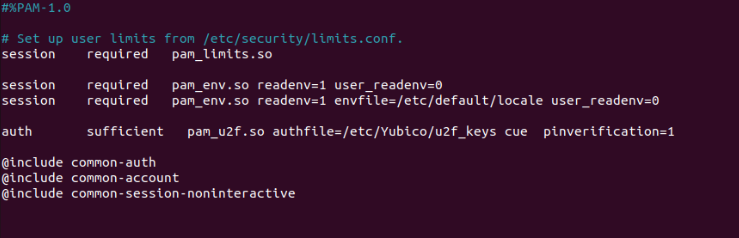
‘sufficient‘ means it will fall back to traditional password login if your Yubikey is absent. You may change it to ‘required‘ to ensure Yubikey is present during the authentication. However, it is safer not to set it as ‘required’ now. Even if there are problems with the pam_u2f module during installation, you can still log back into your VM/VPS through a password.
Step 8: Try to run sudo with your Yubikey.
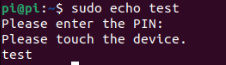
Congratulation! We have successfully passed through our Yubikey securely to other people without giving them physical access to our Yubikey.