We shall avoid using Syncthing over the public network directly to secure our servers. In this article, I will introduce how to synchronize folders using Syncthing inside your Tailscale private network.
Follow Steps 1-5 on this article or instructions on the Tailscale official website to install Tailscale.
Follow Steps 1-6 below or this article to set up Syncthing on your Linux server (it is identical to the official article).
Step 1: Add the release PGP keys
sudo curl -o /usr/share/keyrings/syncthing-archive-keyring.gpg https://syncthing.net/release-key.gpgStep 2: Add the “stable” channel to your APT sources
echo "deb [signed-by=/usr/share/keyrings/syncthing-archive-keyring.gpg] https://apt.syncthing.net/ syncthing stable" | sudo tee /etc/apt/sources.list.d/syncthing.list
Step 3: Add the “candidate” channel to your APT sources:
echo "deb [signed-by=/usr/share/keyrings/syncthing-archive-keyring.gpg] https://apt.syncthing.net/ syncthing candidate" | sudo tee /etc/apt/sources.list.d/syncthing.list
Step 4: Update the list of available packages & install Syncthing
sudo apt-get update
sudo apt-get install syncthing
Step 5: Automatically start Syncthing service at boot. Replace <username> with your Linux username
sudo systemctl enable [email protected]Step 6: Start Syncthing service manually. Replace <username> with your Linux username
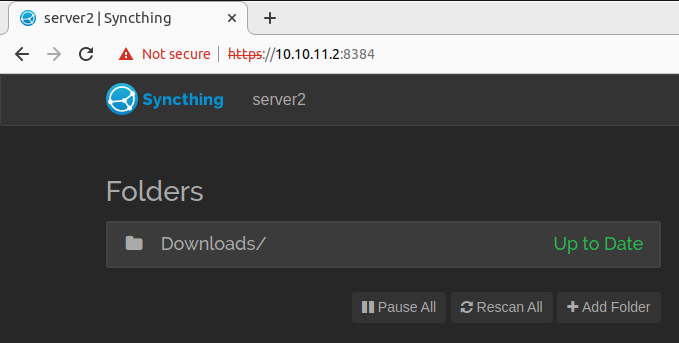
sudo systemctl start syncthing@>username>.serviceStep 7: Access server local ip:8384 (In my case, 10.10.10.2:8384 for server1 and 10.10.11.2:8384 for server2) or the device’s Tailscale IP if your computer has already joined the Tailscale private network

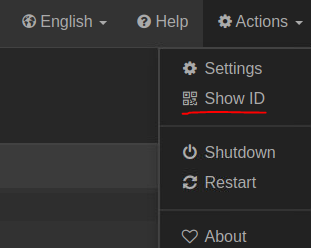
Step 8: On the top-right corner, click Actions -> Show ID on the second device (server2). Copy second device (server 2) ID
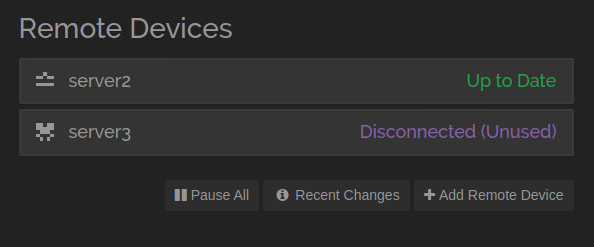
Step 9: On the bottom-right corner, click Add Remote Device on the first device (server1). Paste second device (server 2) ID and Device Name to corresponding rows.
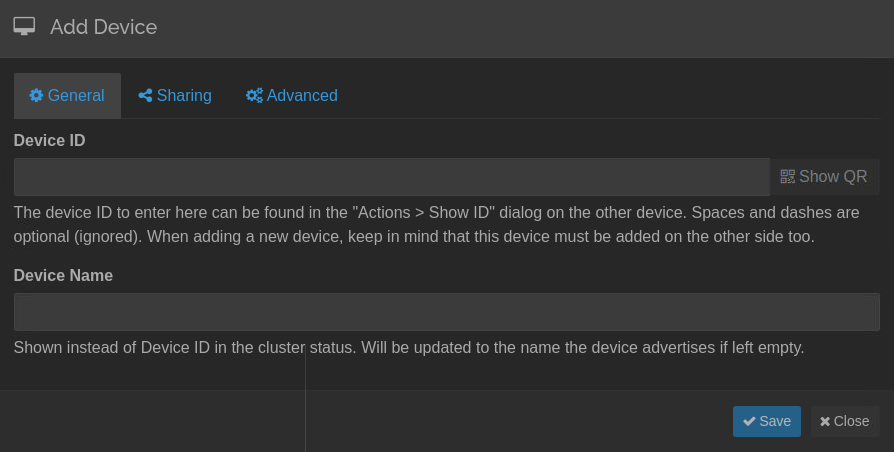
Step 10: Click the Add Device button on the second device (server 2).
Step 11: Done. Create & delete files on different devices to verify whether Syncthing sets up correctly.