
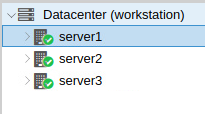
The previous article makes use of a lightweight VPN service Tinc to create a Proxmox cluster. In this article. I will introduce a more straightforward method to create a Proxmox cluster over a private network with the help of Tailscale.
Linus servers used in this article: Ubuntu Server 22.04 LTS
Proxmox Cluster uses corosync to synchronize each node. The corosync process itself is critical for latency. It is recommended the latency between each node is less than 10ms. If your devices are not in the same city and have very high latency, your devices may encounter frequent disconnection due to the corosync process being out of synchronization. You may check out my other article on how to reduce latency when forming Proxmox Cluster using VPN.
Prerequisite
MAKE SURE TO BACKUP ALL YOUR VMS!
Step 1: Create an account on Tailscale
Step 2: Update the list of available packages & install curl
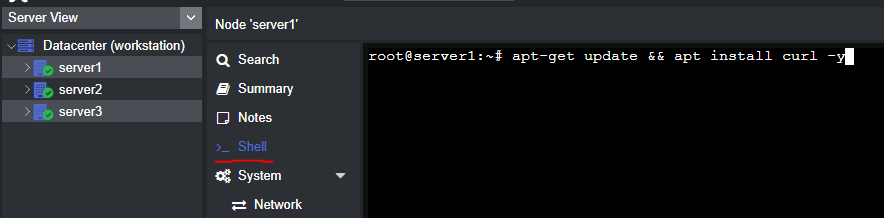
apt-get update && apt install curl -y Step 2: SSH into your Proxmox server. Add Tailscale’s package signing key and the repository
curl -fsSL https://pkgs.tailscale.com/stable/debian/bullseye.noarmor.gpg | tee /usr/share/keyrings/tailscale-archive-keyring.gpg >/dev/null
curl -fsSL https://pkgs.tailscale.com/stable/debian/bullseye.tailscale-keyring.list | tee /etc/apt/sources.list.d/tailscale.list
Step 3: Install Tailscale
apt-get update
apt-get install tailscale
Step 4: Connect your machine to the Tailscale network
tailscale upStep 5: Copy the authentication link, and authorize your new endpoint in your browser

Step 6: Set up your own lookup table, and copy it to each server.
nano /etc/hostsyour_server_ip1 your_server_fqdn1 your_server_name1
your_server_ip2 your_server_fqdn2 your_server_name2
your_server_ip3 your_server_fqdn3 your_server_name3In my case, it looks like
100.98.1.2 server1.homes server1
100.98.1.3 server2.homes server2
100.99.1.4 server3.homes server3
Refer to Step 13 of this article for details.
Step 7: Create a cluster on the first server
pvecm create <cluster-name>pvecm create <cluster-name>In my case, on server1
pvecm create workstationStep 8: Ensure other servers are empty (do not have any VM). Remote those servers and then
pvecm add <first server>
In my case, on server2 and server3
pvecm add server1
Step 9: Done
I am unable to get curl to work in proxmox
Hello Sean,
Thanks for your comment.
Go to the shell part of your promox server, try to type
apt install curl
It will install the curl package if everything functions properly