Based on the cloned oyster swap project, we created our decentralized exchange in the previous article. This article will teach you how to deploy your exchange into the Cloudflare page.
Step 1: On your code editor’s terminal, execute the command below.
npm run build

Step 2: Create a Cloudflare account if you don’t have one. After that, go to the Cloudflare page section.
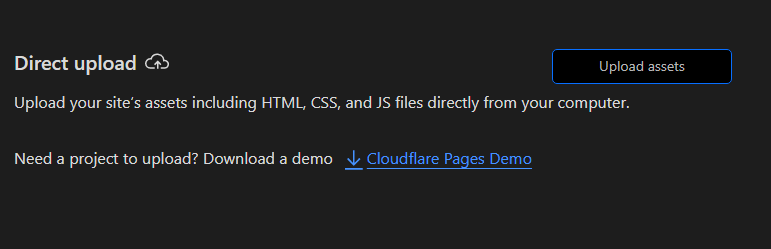
Step 3: Click the “Upload assets” button on the Direct Upload section.
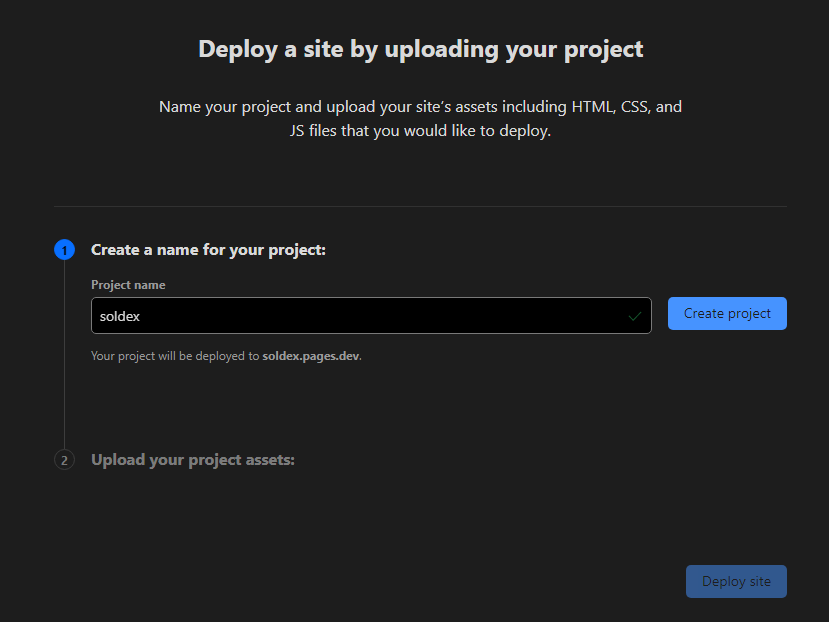
Step 4: Enter your project name and upload the “build” folder generated in step 1. Then, hit the “Deploy site” button after uploading all the required files.
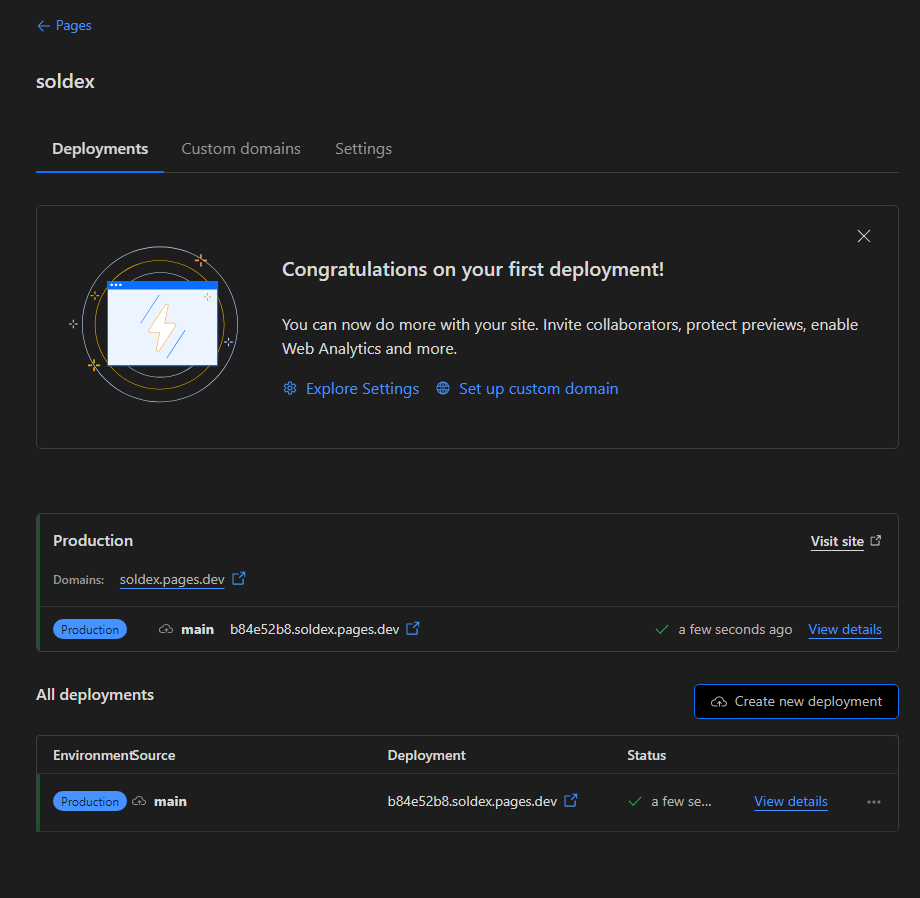
Step 5: If you have a custom domain in the active zone, you may go to the custom domains section and set up a custom domain. You may now go to your DEX via Cloudflare assigned link or your custom domain.
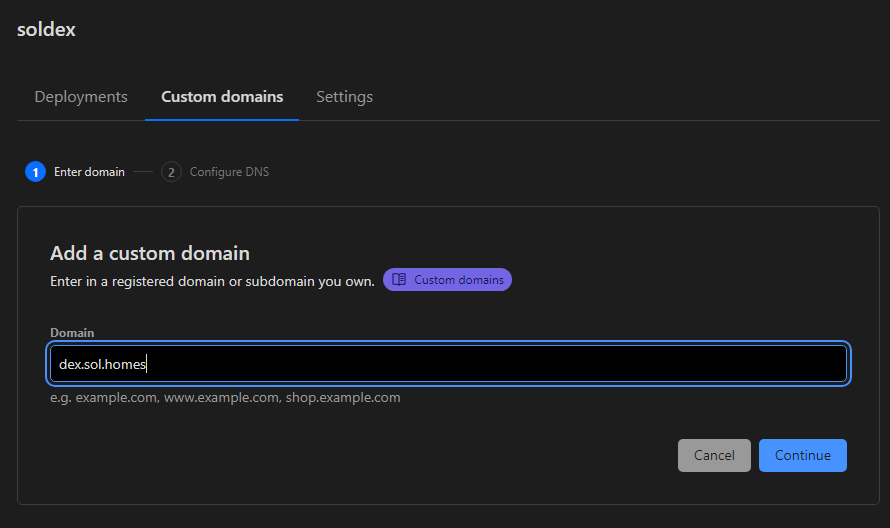
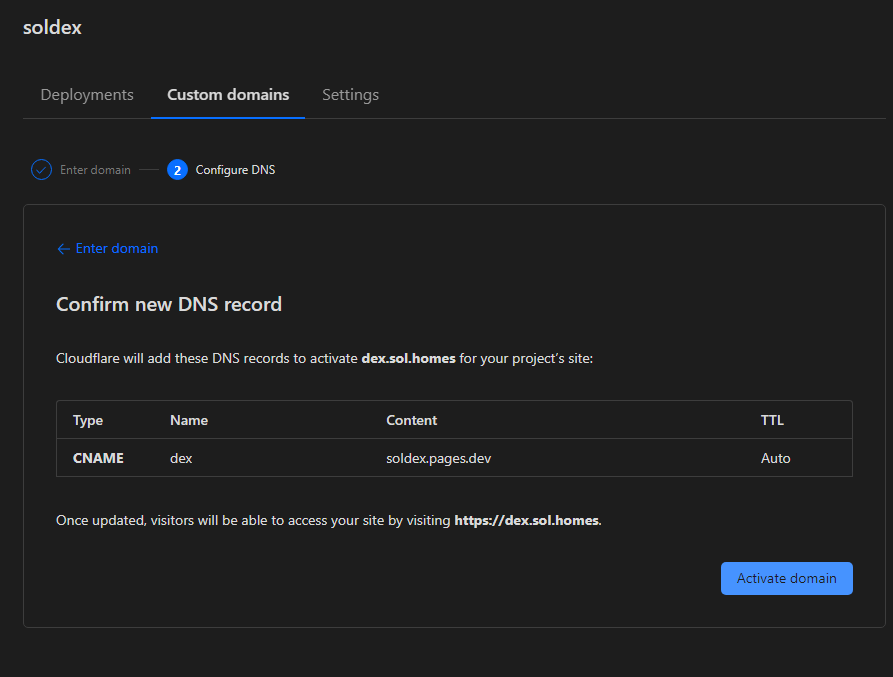
In my case, my DEX on Solana devnet is dex.sol.homes.

If I have spare time, I will also send a pull request to the oyster swap project, helping them fix some minor issues.
If you think this article is helpful, you may visit my forked oyster swap and give me a star. Also, feel free to leave a comment below. 🙂
You may also sponsor this website by sending some SOL to this address: AGzgnsepqh7NePfTrNWfrXPaRXKd1ce8jUwfmFh9FfMe