The process of creating a WiFi hotspot on Ubuntu is relatively easy. Once set up, you may use an industrial PC (IPC) as an All-in-one solution and save the space of having a router in an industrial environment. Other smart home or IOT sensors can connect to your IPC wirelessly through the WiFi hotspot.
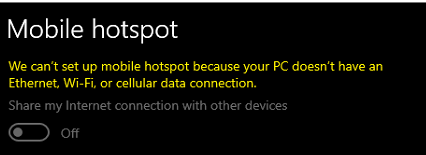
Windows 10 provides a built-in function for users to create a WiFi hotspot, but you cannot create a WiFi hotspot without an internet connection. It will cause some issues in some industrial automation situations. For example, suppose an IPC loses its 4G/5G connection. In that case, the WiFi hotspot function will be terminated, claiming that ‘We can’t set up mobile hotspot because your PC doesn’t have an Ethernet, Wi-Fi, or cellular data connection.‘. All its smart/IOT sensors will be disconnected.
To overcome this issue, software called MyPublicWiFi will be introduced. The TP-Link Archer T2U will be used as the wireless adapter in this article.
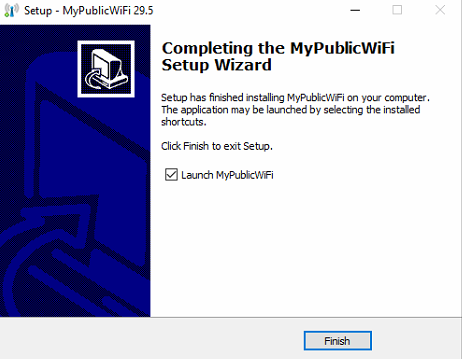
Step 1: Download and install MyPublicWifi on your Windows 10 device. Launch it after installation.
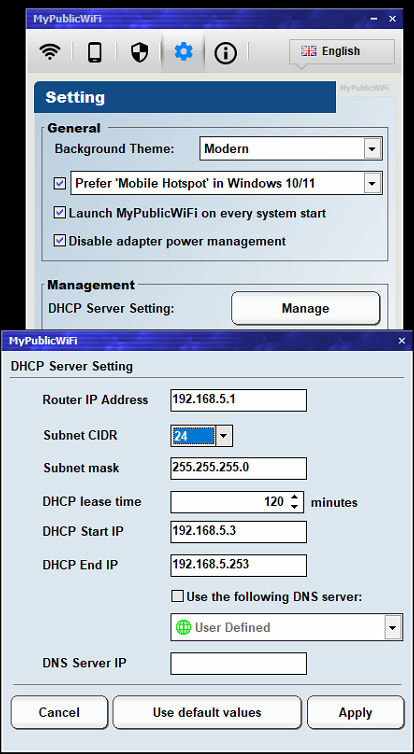
Step 2: Go to the setting page, select Prefer ‘Mobile Hotspot’ in Windows 10/11 and Launch MyPublicWiFi on every system start.
Click the Manage button next to DHCP Server Setting. Modify the DHCP Start IP and DHCP End IP to your desired IP range.
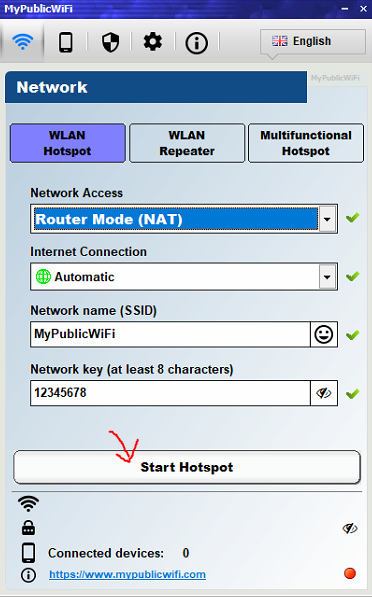
Step 3: Click the WiFi button in the top left corner. Change your Internet Connection to Automatic.
Modify your Network name (SSID) and Network key.
Click the Start HotSpot button after configuration.
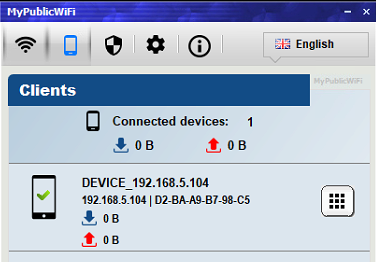
Step 4: Connect a device to your WiFi hotspot. It will be shown on the Client list.
You may now disconnect your internet connection and restart your Windows 10 device. It will start a WiFi hotspot even if your device loss an internet connection.